Sunday, 23 April 2023

My 'Inspiration Scribbler' Card for Scribbles Designs

Today, I am sharing my 'Inspiration Scribbler' project, made for the
Scribbles Designs Challenge Blog which you can see HERE

The theme this month is ' Amphibians'

The details of the current challenge can be found HERE


The products I have used are:
Sizzix Embossing Folder - Ornate frames Set 2
Spellbinders Nestabilities - Rectangles and Deckled Rectangles
Promarkers

Thank you for visiting my blog today.
Janice x

Tuesday, 18 April 2023

Female Birthday Card

Today's card is one I made for my neighbour who celebrated
her birthday last week.


I embossed the orange card with the 3D embossing folder and cut to size.

Using a white ink pad, I carefully moved it across the
embossed parts to catch the edges of the petals.

I then matted the panel onto black card, added the sentiment and 
pearl gems.


The products I have used are:
Embossing Folder - Brand unknown
Card Deco - Happy Birthday

Thank you for visiting my blog today.
Janice x


Wednesday, 12 April 2023

A 'Clean and Simple' Wedding Anniversary Card

Today, I am sharing a very 'clean and simple' anniversary card
made for my friends at the end of last month.

After gluing the die-cut border directly onto the card base, I used my
Misti to stamp the sentiment underneath it.

Next I die-cut two hearts in red card, glued one onto the card base and
used 3d foam pads to raise the other one.

I then added a couple of diamante gems to the hearts to finish.


The products I have used are:
Memory Box - Tessatina Border
Heart dies - Brand unknown
Clearly Besotted stamps - Mini Calligraphy

Thank you for visiting my blog today.
Janice x


Saturday, 1 April 2023

My 'Inspiration Scribbler' Card for Scribbles Designs

Today, I am sharing my 'Inspiration Scribbler' project, made for the Scribbler's
midway point of the monthly Scribbles Designs Challenge Blog
which you can see HERE

The theme this month is
'A Scandinavian Christmas'

The details of the current challenge can be found HERE

I used the Winter trees embossing folder to emboss the card base.
Next, I coloured the TooMoose Jingle image with Promarkers, and then
 die-cut it using the edged square die.

I then matted it onto a die-cut square of green card and used
3D foam to attach it to the card base.

Lastly I added the peel-off sentiment and some Glimmer dust to the
embossing.

The products I have used are:
Scribbles Designs  - #723 TooMoose Jingle
Sheena Douglas Embossing folder - Winter trees
Spellbinders Nestabilities - Squares
Promarkers

Thank you for visiting my blog today.
Janice x


Wednesday, 29 March 2023

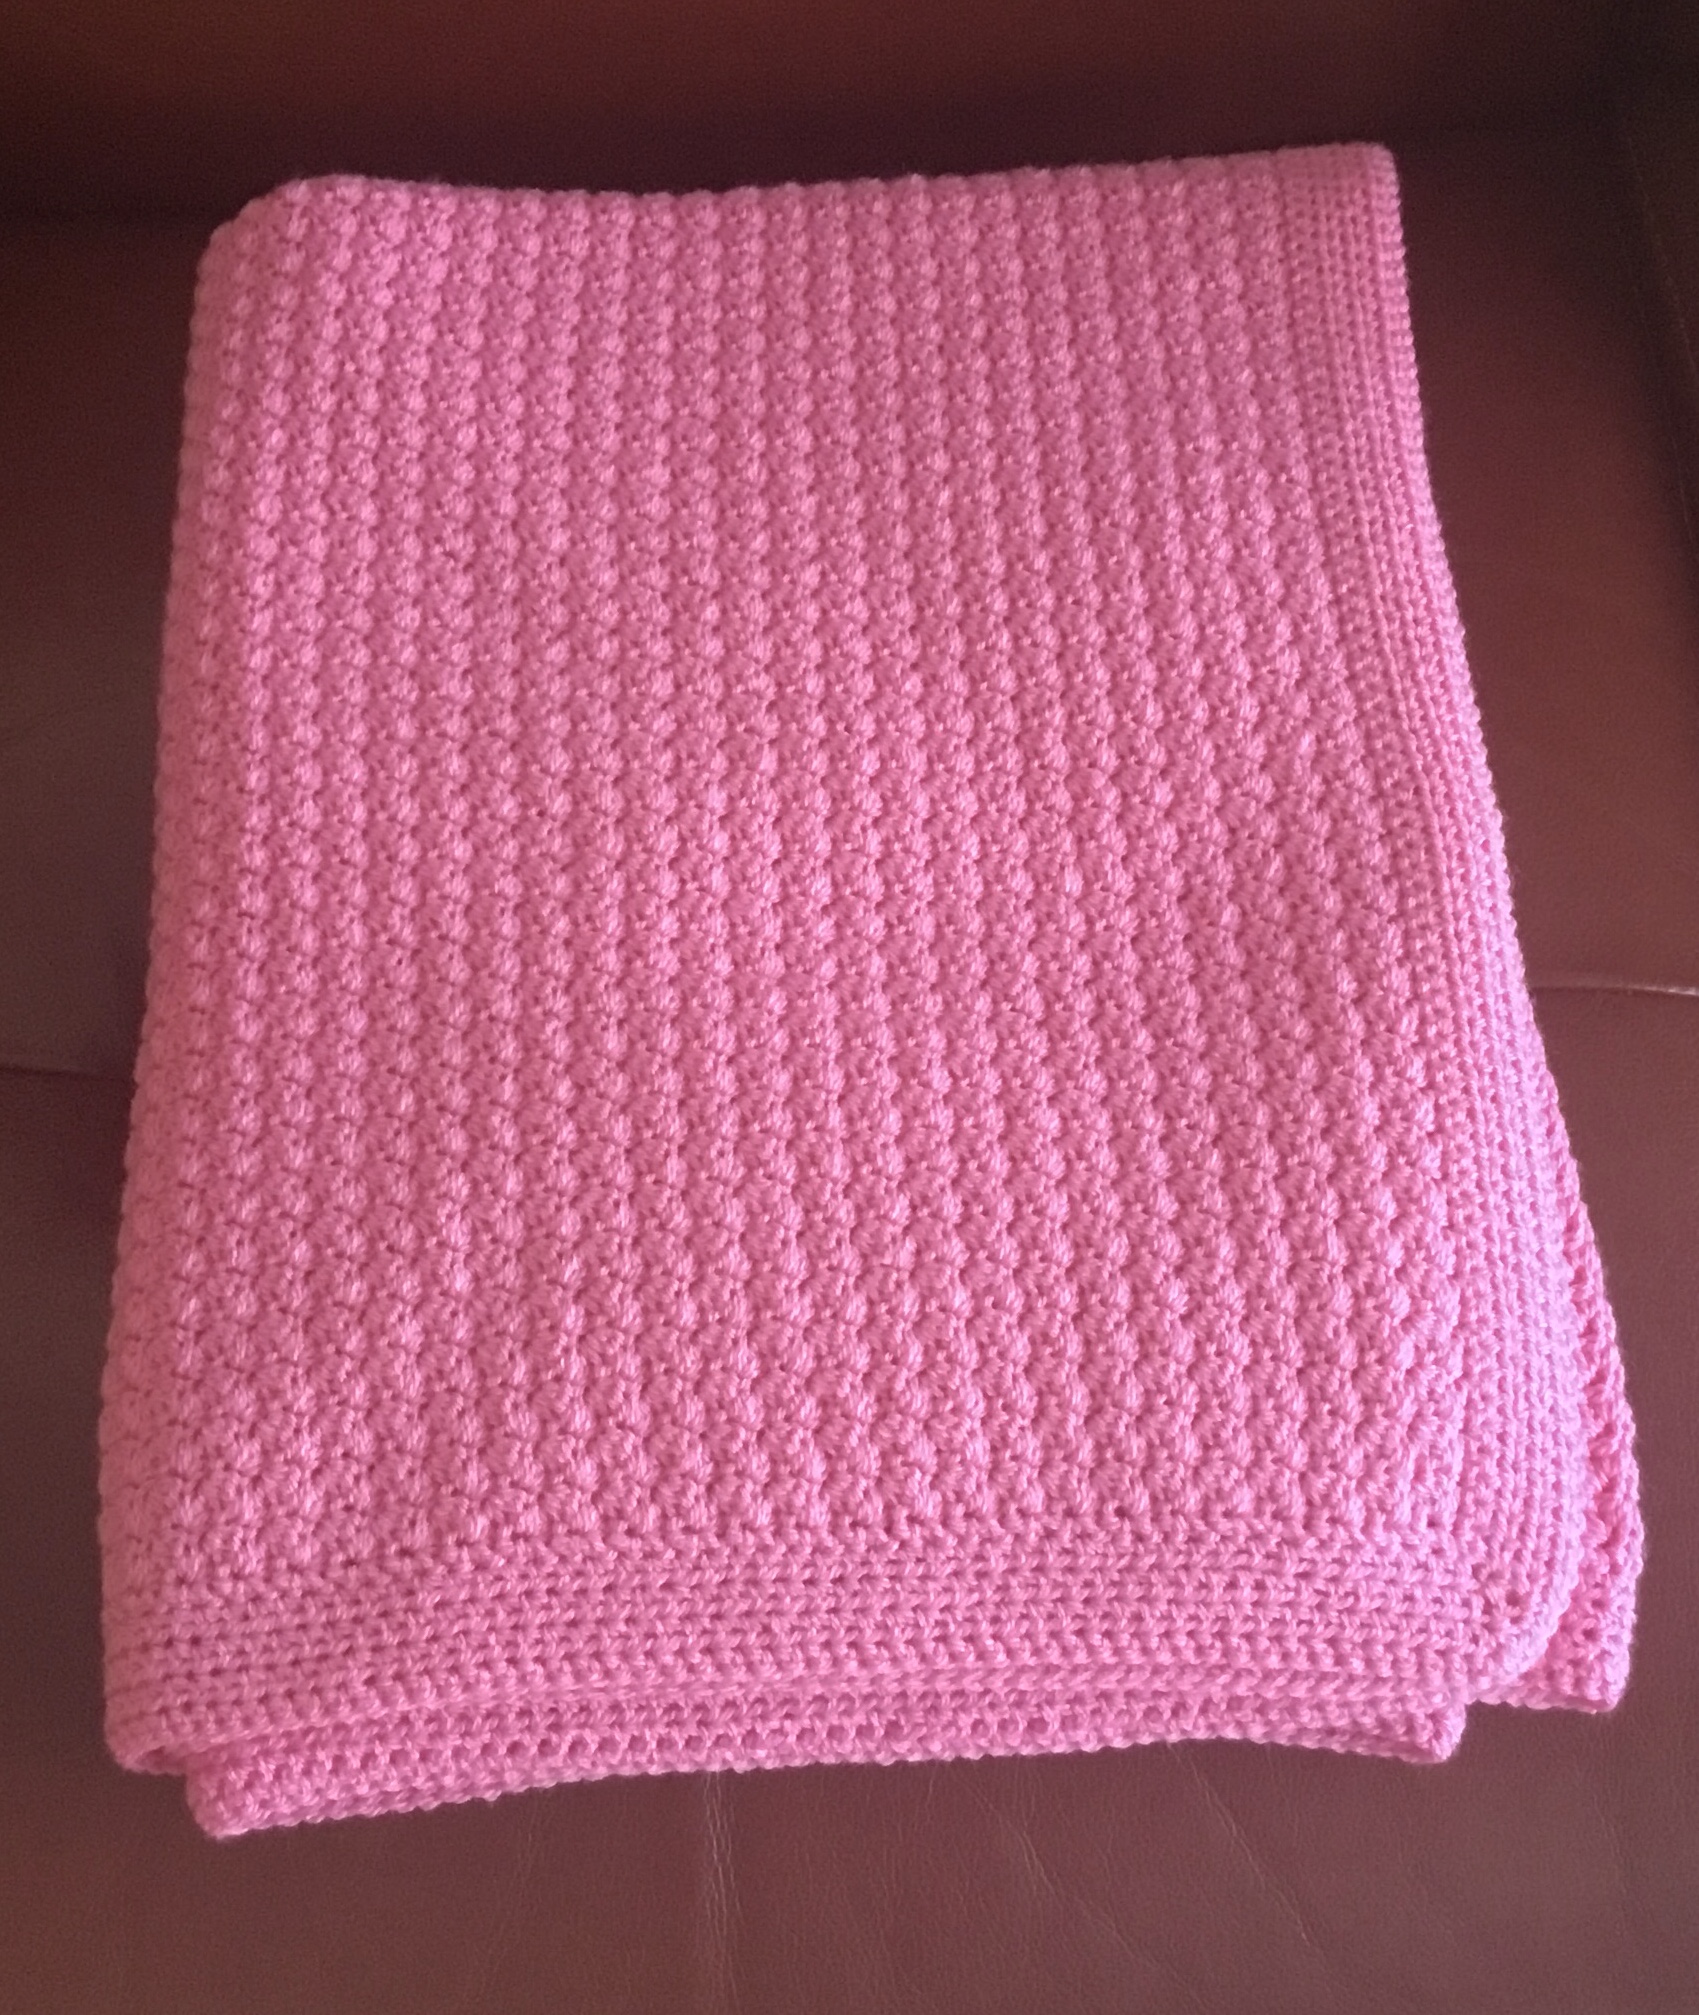
A Crocheted Throw/Blanket for my Great Niece

Today, I am sharing another crocheted throw/blanket I have made for one 
of my great nieces.


I am really enjoying this new hobby, so my plan is to make a throw for
each family member, (both female and male, young and old) but only if they
would like one of course!
 
So, that's 21 in total, and I've made 10 so far, 
3 of which I still have to share with you. 
Maybe by this time next year, they will all be completed!

I used the lovely textured Suzette stitch which I found HERE on
the 'Blossom Crochet' YouTube channel.
Rebekah’s tutorials are really easy to follow and she has lots of different
crochet stitches to share.


I started by deciding how wide I wanted the throw to be and
 chained 142 stitches. I then crocheted the one row repeat pattern
until I reached the desired length.

I finished by crocheting a border of three rows of half trebles and
two rows of double crochets.


I purchased the yarn online from The Wool Box
using eight 100g balls of Stylecraft Special DK in the colour ‘Fondant’

Thank you for visiting my blog today.
Janice x

Friday, 24 March 2023

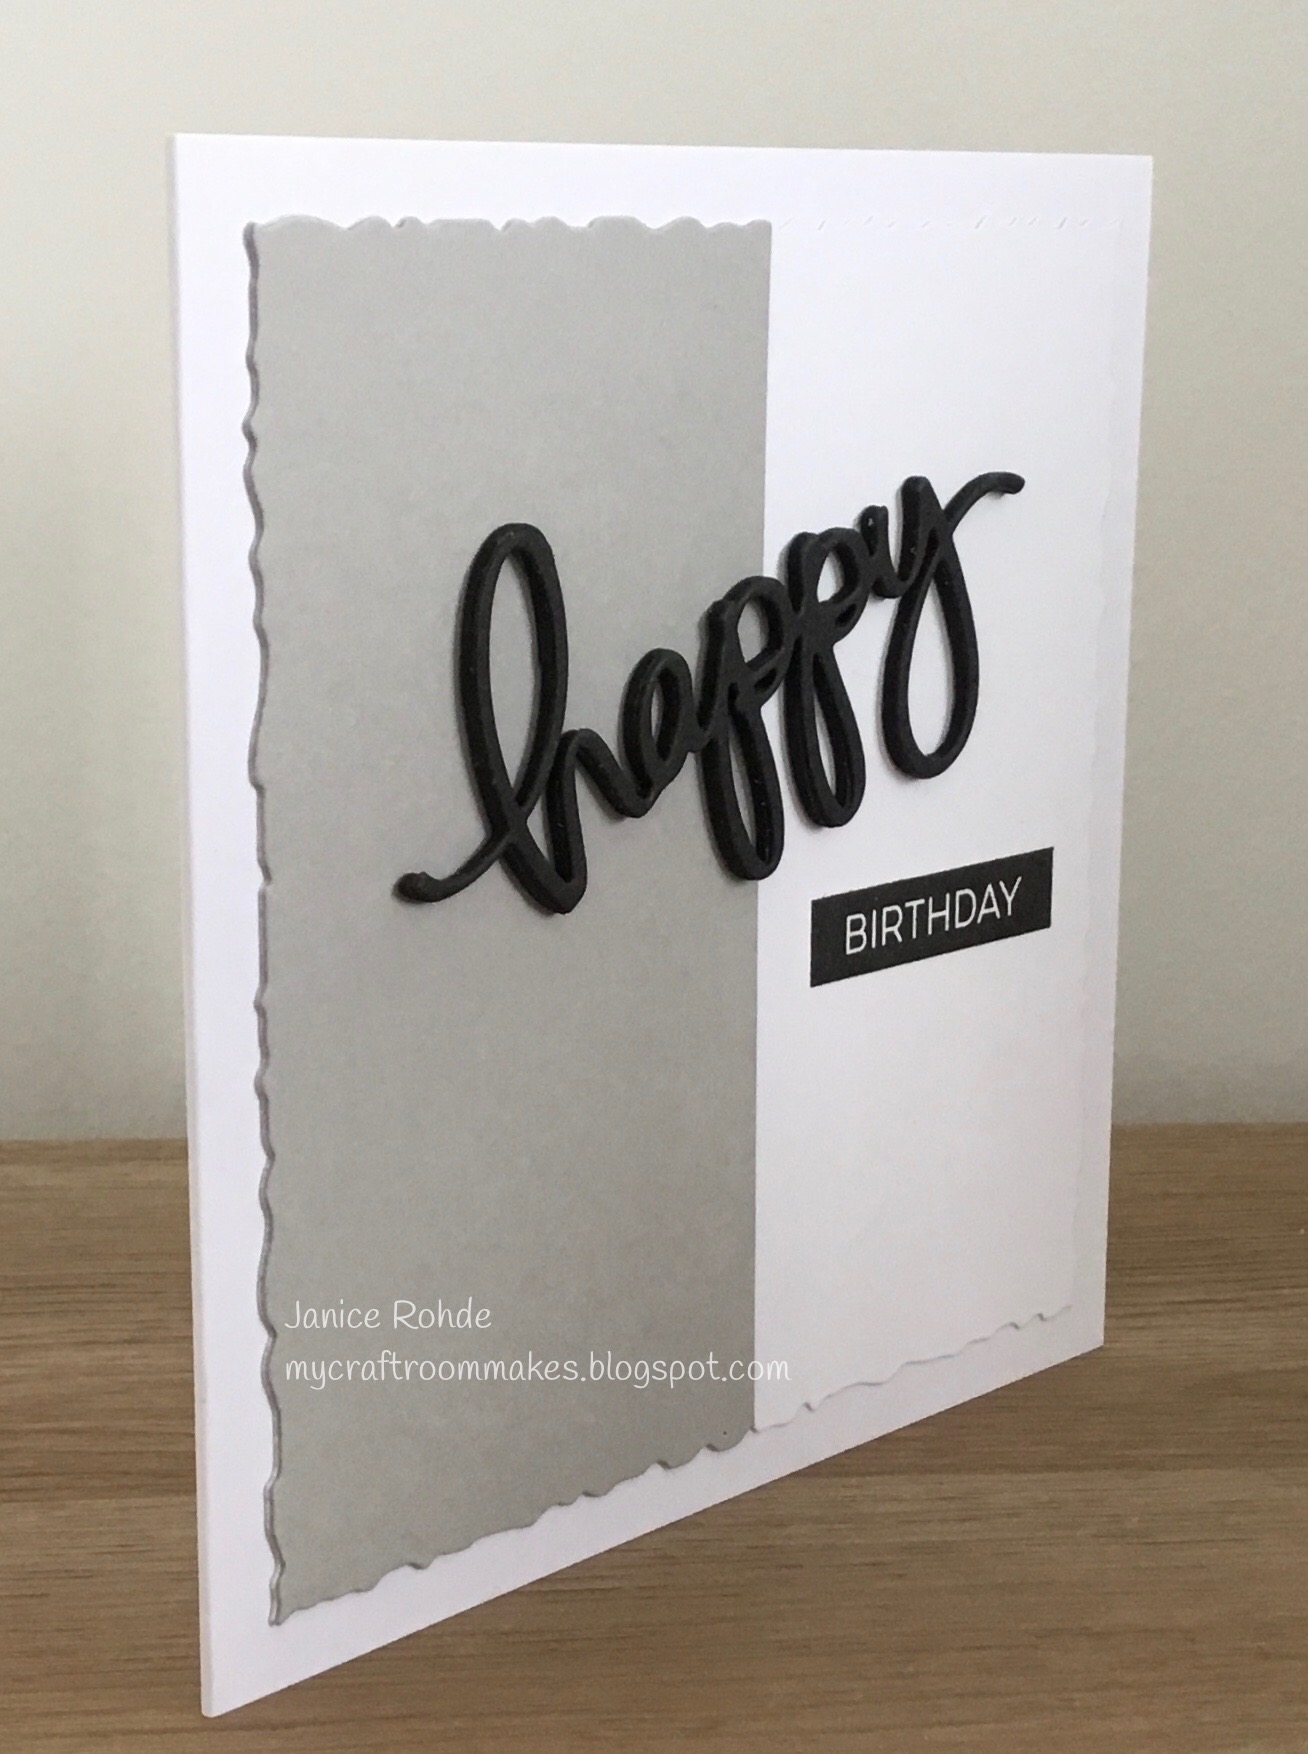
A ‘Clean and Simple’ Masculine Birthday Card

Sharing a 'clean and simple' card today made for a friend
who celebrated his birthday earlier this month.

I used Pinterest again to give me some inspiration, which I 
seem to be lacking at the moment.


I used the deckle squares to cut a panel in white card, glued it to the
card base, then cut half a square in grey and glued that on top.

Using my Misti stamping platform, I stamped the birthday sentiment in
black ink.

I die-cut the 'happy' in black card and black 3d foam, glued them
together and positioned it at an angle above the stamped birthday.

The products I have used are:
My Favourite Things - Label Maker Sentiments #1
Lawn Fawn Script - Happy
Deckle edge square dies - Brand unknown

Thank you for visiting my blog today.
Janice x


Friday, 17 March 2023

Lego Themed Birthday Card

Today I am sharing the card I made for my great nephew who celebrated
 his 4th birthday this week.


As he loves Lego, I looked on Pinterest to get some ideas for a Lego
themed card. 


The products I have used are:
Couture Creations A4 Embossing Folder - Swiss Dots
Sizzix Triplets dies - Cupcakes
Cuttlebug Alphabet/Number dies - Olivia
Alphabet dies - Brand unknown
Hobbycraft - Circle punch

 Thank you for visiting my blog today.
Janice x